How to Hang Pictures Like a Professional Home Stager!
Hanging artwork on walls can be a tedious job, especially when the picture requires two hooks/screws to be hung. And if you’ve never hung a picture before, the task can seem daunting. After all, punching holes in your wall, only to end up with a crooked picture can leave you feeling defeated. But you are in luck! In this blog, you’ll learn how to level and hang a picture correctly the first time. Follow these easy steps and you can learn to hang pictures like a professional home stager!
Materials you will need:
- Painter’s tape (I prefer Shurtech Painter’s Mate Green Masking Tape, 48mm x 55m)
- Level (a simple 2ft carpenters’ level works fine)
- Picture hooks (I use Wall Respectors by Beemer Carton Consulting Inc. You can buy them [here](Link to Purchase))
- Drill or hammer (if you are using screws or nails to hang your pictures)
- Scissors
Directions:
Suitable for - Sawtooth, D-ring, Keyhole hooks, and canvas paintings
- Decide where on the wall you want to hang your picture.
- Turn your picture over so that its back is facing you.
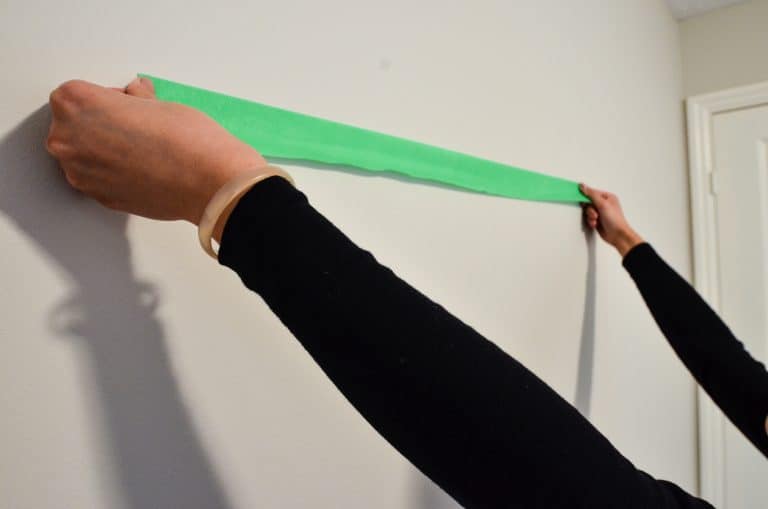
- Measure the distance between one hook to the other and cut a piece of painter’s tape to size.
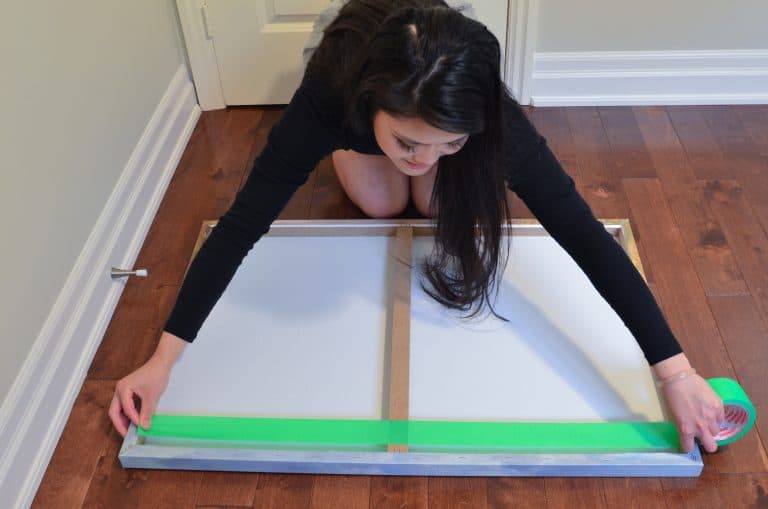 Measuring the distance between the hooks
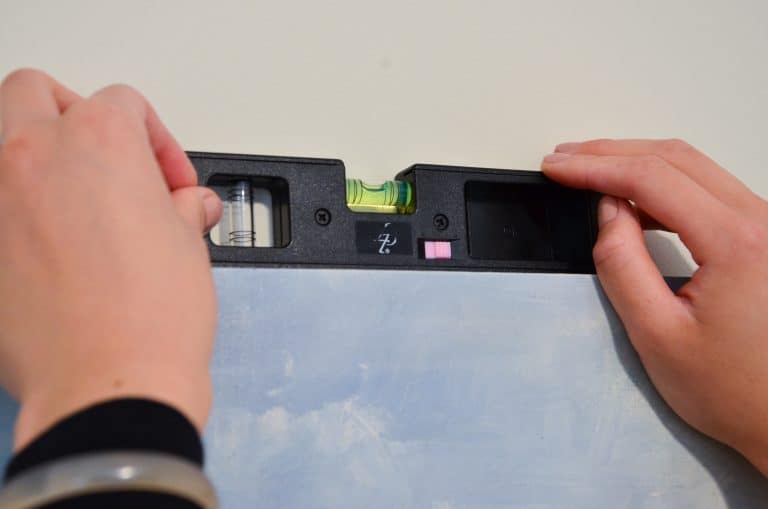
- Place the piece of tape on the wall where the picture will hang and at the same height as where the hooks will be; use a leveler to make sure it is leveled (you might have to adjust the strip of tape a few times).
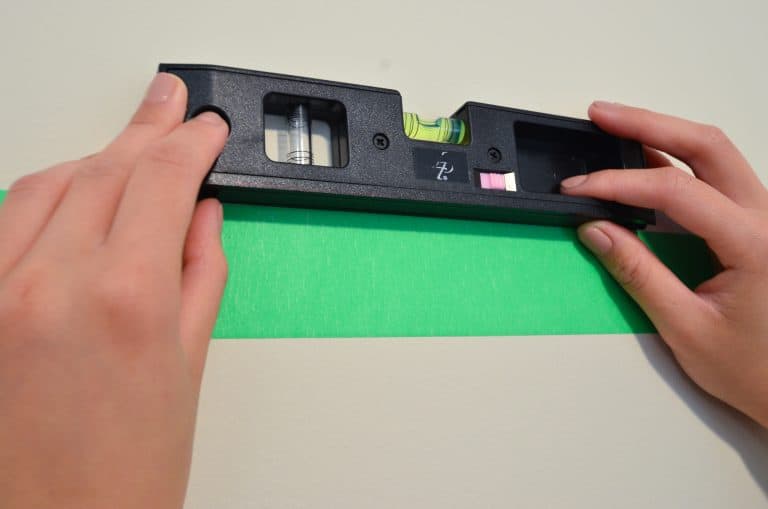 Place at just above eye-level
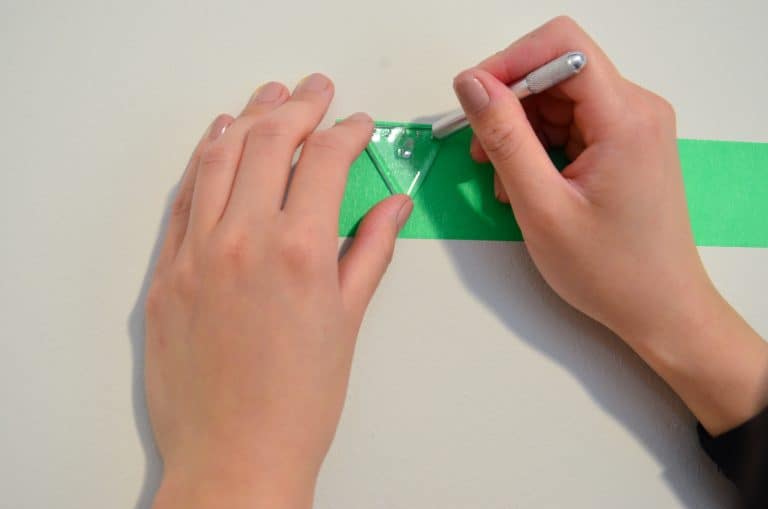
- Once it is perfectly leveled, you can go ahead and install your picture hooks on both ends of the tape.
 6. Lower the picture onto the hooks, and Voila! You now have a perfectly hung picture in a matter of minutes!
 Ta-daa!
Directions:
Suitable for - wire-framed
- Decide where on the wall you want to hang your picture.
- Turn your picture over so that its back is facing you.
- Pull the wire taut towards the top of the frame and measure the distance between the center of the wire to the top of the frame with a piece of painter’s tape.
- Place the piece of tape on the wall where you want the picture to be hung. Note: the top of the piece of tape should mark the top of the picture frame and the bottom of the piece of tape should mark your picture hook.
- Install your picture hook at the bottom of the piece of tape.
- Lower the picture wire onto the hook and adjust to level. Voila! You now have a perfectly hung picture in a matter of minutes!
After hanging, check the edge of the picture to ensure it is level. For especially heavy pictures or paintings, consider anchoring the screws or nails into the wall studs.